Monday 27 February 2012

Making Vintage Rose soaps–Part 2

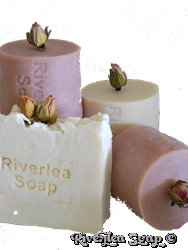
Vintage rose collection (2)
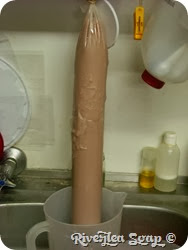
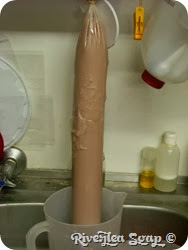
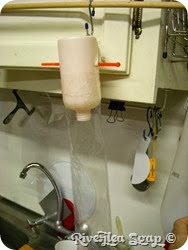
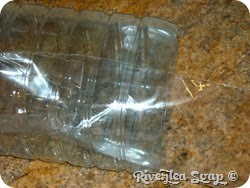
Last week I posted part 1 of this little journey. The two biggest problems in this exercise, in my experience, were wastage and inability to hold the slippery bag while trying to tie the elastic band. So a cunning plan was born. Firstly I had to make the bottom of the bag take on the rounded shape and lose it’s corners. I put a round bottle into the bag and taped the corners so that it rested with a flat base. Then I took an old lotion bottle, cut the bottom off and inserted the neck of the bottle into he plastic bag and taped the bag to the bottle. Next I cut holes in the sides of the bottle and slid a plastic swizzle stick into the holes. I then put elastic around either side of the swizzle stick and hooked it onto a rod suspended over my lab sink. Very complicated. All ready to go! I got kitted up in my safety gear and I made the soap mix again as per normal Cold process soap and got ready to pour. I couldn’t take the chance that the sink was good enough so I also put a jug under the bag – in case! What was I thinking? I must have jinxed it – that bag SPLIT. 
Vintage rounds  (1)   Vintage rounds  (4)

Good thing I was prepared so I ripped off the broken -bag and re-taped a new one and was ready to go again.
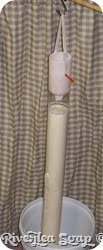
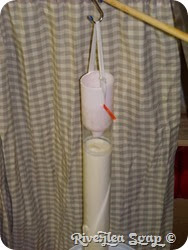
Vintage rounds  (2)Vintage rounds  (3)Vintage rounds  (4)Vintage rounds  (5)
This time I changed the position of the elastic, hook and rod. The bag had a small hole in it but fortunately the soap was really thick so it plugged the hole fairly quickly. I definitely had MUCH less wastage due to the shaped base and no creasing on top. I am still not convinced that this is easier. The stress is too much to handle wondering if the bag will split and the rounds are not as round as I would like. So I am still on the hunt for an easy way to make round soaps. Any hints, tips or ideas would be greatly appreciated.
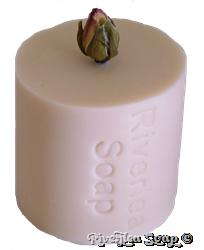
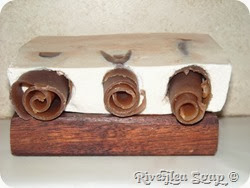
Vintage rose collection (1)

Pin It!
Riverlea Soap


Monday 20 February 2012

Making Vintage Rose soaps–Part 1

Vintage rounds  (16) 

Amanda Griffin from Lovin Soap shared this post about making round soaps in a bag. I decided this was a great idea but really thought there would be an easier way to do it. Thus began my slippery, not so successful journey of the soap round!
If you have ever tried to make round soaps I am sure you have tried every imaginable mould like the down pipe, otherwise known as PVC, Pringles crisp container and many more! My biggest problem with the PVC pipe was trying to get the soap out afterwards. I am not the strongest weight lifter in the gym so pushing, pulling, prodding and hitting with a hammer for many hours just was not a smart way to spend my time. So this way seemed really easy. Not so. I mixed my oils and my pre-prepared Sodium Hydroxide as you would for making Cold Process soap. I added my colour, I used a small amount of burgundy pigment, mixed to light trace and added my essential oil. I already had my plastic bag and funnel ready to pour the soap into the bag.

Vintage rounds  (14)   Vintage rounds  (13)Vintage rounds  (12)   Vintage rounds  (8)Vintage rounds  (10)   Vintage rounds  (9)Vintage rounds  (11)

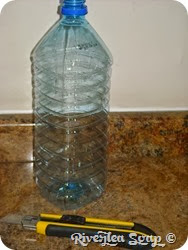
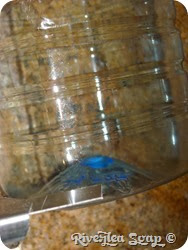
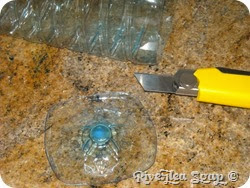
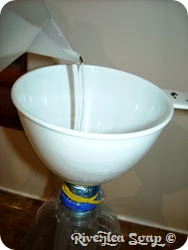
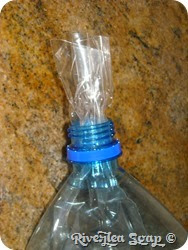
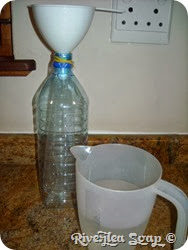
This is now where I thought I would be clever. I had already practised with water. I took a 2L water bottle, cut the bottom off, fed the plastic bag thought the mouth and fastened with an elastic band. Then poured the water into the bottle and as it rose closer to the top I realised I would have a LOT of wastage. The soap at the bottom of the bag takes on the shape of the bag and sits in the corners and the top of the bag creases where it has to fit into the smaller neck of the bottle. So back to the drawing board.

Vintage rounds  (1)
I had no more smart ideas so I decided to wing it. I took the funnel and held it in the plastic bag and poured the soap. No photos of that as my hands were a little full. This is where disaster struck. Soap mix ix very slippery and with gloves you really don’t have much grip at all. Yes you guessed it – I dropped the bag. This is the rug in the lab just in case I have soapy accidents such as this one and it is ready for the wash. I really would have like a pic of the soapy mess but I was too busy cleaning up. This is a perfect time to remind you about safety and soap making. ALWAYS wear gloves, goggles and a protective garment and definitely closed shoes.
Vintage rounds  (16)
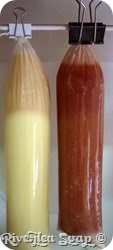
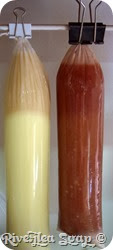
So here is the poured, gelled soap hanging. You can see how there is a lot of waste on the top and bottom.

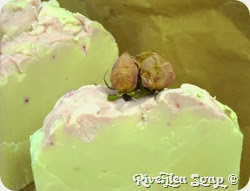
Look closely at the pink soap below, it looks streaky. Do you remember the bag I tested with water first? Make sure it is properly dry before you decide to pour soap into it.

More next week on this soapy journey. A cunning plan on how to minimise the wastage.

Riverlea Soap

Monday 13 February 2012

Can you make soap without Lye?

DSCN0032-5
Seems like a simple question, but a lot of people ask it. The simple answer is no. Without lye, there is no soap. Soap, by definition, is the result of a chemical reaction between fatty acids from animal or vegetable oils and lye (Sodium Hydroxide and water) called saponification. Glycerine is a by-product of this reaction. Thus, most handmade soap is about 75% soap and 25% glycerine. There is no lye remaining in a properly made soap.
So why do you see products that act like soap without any lye in them? These are detergents. They are made with surfactants which lower the surface tension of water, essentially making it ‘wetter’ so that it is less likely to stick to itself and more likely to interact with oil and grease. Most shower gels, and even so-called “soaps” you buy at the store are made with surfactants that dry out your skin.
If you are looking to make soap without lye as a fun project, you might consider using a melt-and-pour soap base from your local craft supply store. They are usually a combination of soap and surfactants.
Jasmine Rose3

Riverlea Soap
Related Posts Plugin for WordPress, Blogger...